When faced with unexpected water damage in your home, quick action is crucial. While professional help from a water mitigation company near you is often necessary for extensive damage, there are several DIY water extraction methods you can employ immediately to minimize damage and protect your property. This guide will walk you through effective techniques to tackle water damage before professional help arrives.
Understanding the Importance of Rapid Response
Before diving into the DIY methods, it’s essential to understand why quick action is critical in water damage scenarios. Water can cause significant harm to your home’s structure and your personal belongings within minutes. The longer water sits, the more damage it causes, potentially leading to:
- Warped wood floors and furniture
- Weakened structural elements
- Mold growth (which can start within 24-48 hours)
- Electrical hazards
- Stained walls and ceilings
By acting swiftly with these DIY water extraction methods, you can mitigate some of these risks while waiting for a water damage restoration near me service to arrive.
Safety First: Precautions Before You Begin
Before you start any water extraction process, ensure your safety:
- Turn off electricity to the affected area
- Wear protective gear (rubber boots, gloves, and a mask)
- Assess the water source and stop it if possible
- If the water is contaminated (e.g., sewage backup), do not attempt DIY methods and call professionals immediately
Remove Standing Water with a Wet/Dry Vacuum
A wet/dry vacuum is one of the most effective tools for DIY water extraction. Here’s how to use it:
- Start with the deepest areas of standing water
- Work in sections, moving the vacuum slowly to ensure thorough extraction
- Empty the vacuum frequently to maintain suction power
- Continue until you’ve removed as much standing water as possible
If you don’t own a wet/dry vacuum, many hardware stores offer rentals. This investment can significantly speed up the water removal process.
Utilize Towels and Mops for Smaller Areas
For less severe water intrusion or after using a wet/dry vacuum:
- Use old towels or microfiber cloths to soak up water
- Wring out saturated towels frequently into a bucket
- Use a mop for hard surfaces, changing the water often to ensure effective absorption
This method is labor-intensive but can be very effective for smaller areas or finishing touches after using a vacuum.
Create Airflow with Fans and Dehumidifiers
After removing standing water, drying the area is crucial:
- Position fans strategically to create cross-ventilation
- Use ceiling fans if available
- Place dehumidifiers in the space to remove moisture from the air
- Keep windows open if weather permits to enhance air circulation
Proper airflow not only aids in drying but also helps prevent mold growth.
Employ a Squeegee for Flat Surfaces
For water on flat surfaces like concrete floors:
- Use a heavy-duty squeegee to push water towards drains or exits
- Work methodically from the center of the room outwards
- Follow up with towels or a wet vacuum to remove remaining moisture
This method is particularly effective in basements or garages with concrete floors.
Utilize Coarse Salt for Moisture Absorption
For areas that are difficult to reach or for ongoing moisture concerns:
- Sprinkle coarse salt over damp carpets or wooden surfaces
- Leave for several hours or overnight
- The salt will absorb moisture from the air and materials
- Vacuum up the salt once it has absorbed the moisture
This method can be especially useful for ongoing dampness after the initial water extraction.
Remove Wet Items and Materials
To facilitate drying and prevent further damage:
- Remove wet carpets, rugs, and padding
- Take out furniture and personal items from the affected area
- Remove baseboards and drill small holes in drywall to allow air circulation behind walls
Proper removal and drying of these items can often save them from permanent damage.
When to Call Professional Water Damage Restoration Near Me
While these DIY methods can be effective for minor to moderate water damage, there are situations where professional help is crucial:
- Large-scale flooding
- Water damage affecting multiple rooms or levels
- Contaminated water (Category 2 or 3 water damage)
- Visible mold growth
- Structural concerns
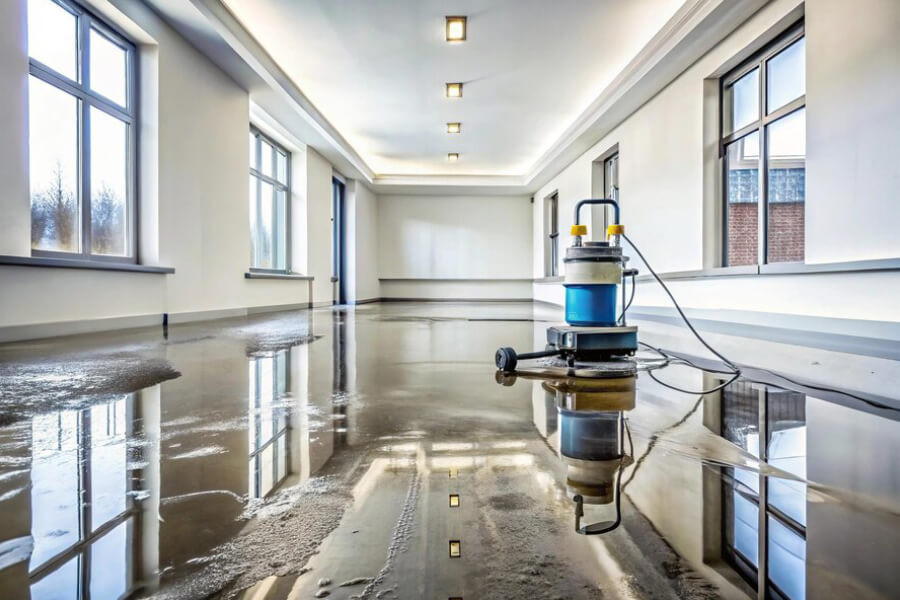
Professional water mitigation companies have industrial-grade equipment and expertise to handle more severe cases effectively. They can:
- Perform thorough water extraction with powerful pumps and vacuums
- Use professional-grade dehumidifiers and air movers
- Employ moisture meters to detect hidden water pockets
- Apply antimicrobial treatments to prevent mold growth
- Restore and repair damaged structures and materials
Preventing Future Water Damage
After addressing the immediate water damage, consider these preventive measures:
- Regular maintenance of plumbing systems
- Installation of water detection devices
- Proper sealing of windows and doors
- Regular cleaning of gutters and downspouts
- Maintaining proper drainage around your home’s foundation
By implementing these strategies, you can reduce the risk of future water damage incidents.
Conclusion: Balancing DIY and Professional Help
Quick DIY water extraction methods can significantly minimize damage to your home in the crucial early stages of water intrusion. However, it’s essential to recognize the limitations of DIY approaches and know when to call for professional help. A reputable water mitigation company near you can provide the expertise and equipment necessary for thorough water damage restoration, ensuring your home returns to its pre-damage condition safely and effectively.
Remember, the key to minimizing water damage is quick action. By combining immediate DIY efforts with professional water damage restoration services, you can protect your home and belongings from the devastating effects of water damage.